Instruction Manual
Downloading and running the latest version of Okulo
Okulo does not require installation. However, before you start playing or working, make sure you have a working Tobii 4C eyetracker and the Tobii (Eye Tracking Core Software) installed.
Additionally, see separate help topics: Tobii eyetracker calibration and Multi Monitor settings
1. We inform you about the latest Okulo software update on our blog and all project participants receive a personal download link to via e-mail.
2. After downloading the update, unpack the archive file in any directory on the hard disk, for example on the desktop. For this purpose, use one of the popular, free programs like https://www.7-zip.org/
3. Open the Okulo application directory
4. Run the application by double-clicking Okulo.exe
5. In the startup dialog, you can choose the resolution and screen number on which the application will be displayed.
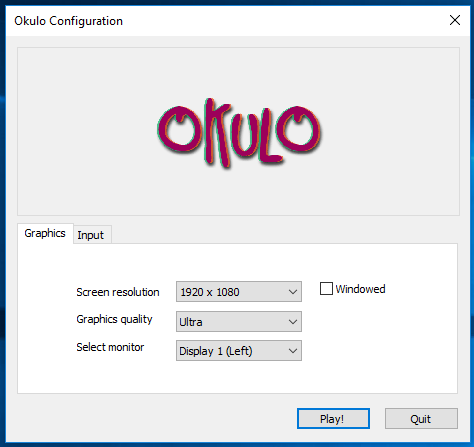
ATTENTION! Always run the application in full-screen mode due to eyetracker requirements.
Tobii eyetracker calibration
For Okulo’s smooth operation you need the working and calibrated Tobii 4C eyetracker. If you do not have it yet, you can contact us or order it directly from the manufacturer.
https://gaming.tobii.com/product/tobii-eye-tracker-4c/
Attention! For some users, the eyetracking calibration process is not possible due to a visual impairment or other individual factors.
In such case, try using Okulo without calibration. Operating will be more difficult, but not impossible.
1. Connect the Tobii eyetracker to the computer and place it on the housing of the monitor that your child will use.
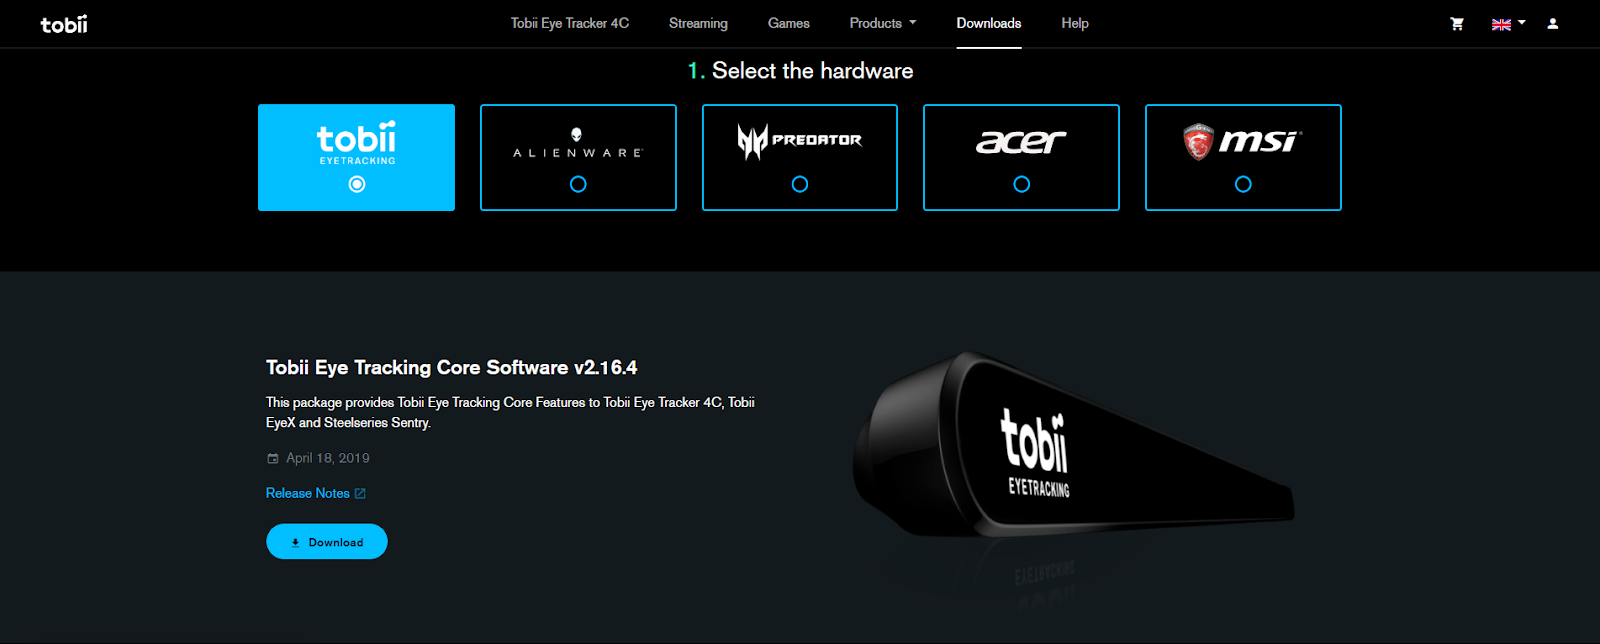
2. Install the Tobii software necessary for the eyetracker operation (Eye Tracking Core Software – https://gaming.tobii.com/getstarted/)
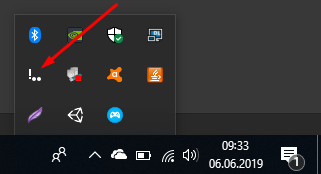
3. Install and run the Tobii software – from now on when you boot the system you will see a new icon in the running programs.
4. Efficiently functioning software and properly set up monitor with connected eyetracker will allow you to see two white dots representing the user’s eyes.
ATTENTION! Try to set the monitor so that the white dots are exactly in the middle of the rectangle.
5. Clicking on white dots will open the calibration panel, where you can create a new user account or use the GUEST option.

6. Further calibration requires you to stare at the blue dots on the screen until they explode.
ATTENTION! Calibration may prove too difficult to pass for small kids or children with a high degree of disability. TRY TO RUN OKULO WITHOUT CALIBRATION.
ATTENTION! Calibration as a GUEST requires focusing only on 4 dots, calibration of a registered account increases this amount to 7. Always use the GUEST account first.
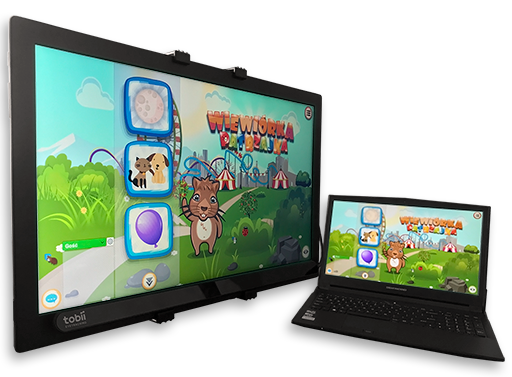
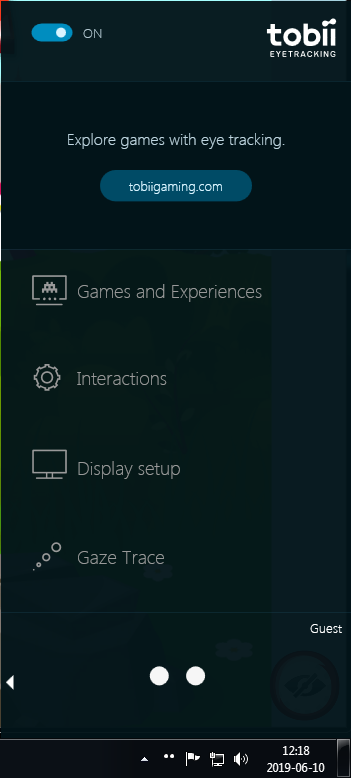
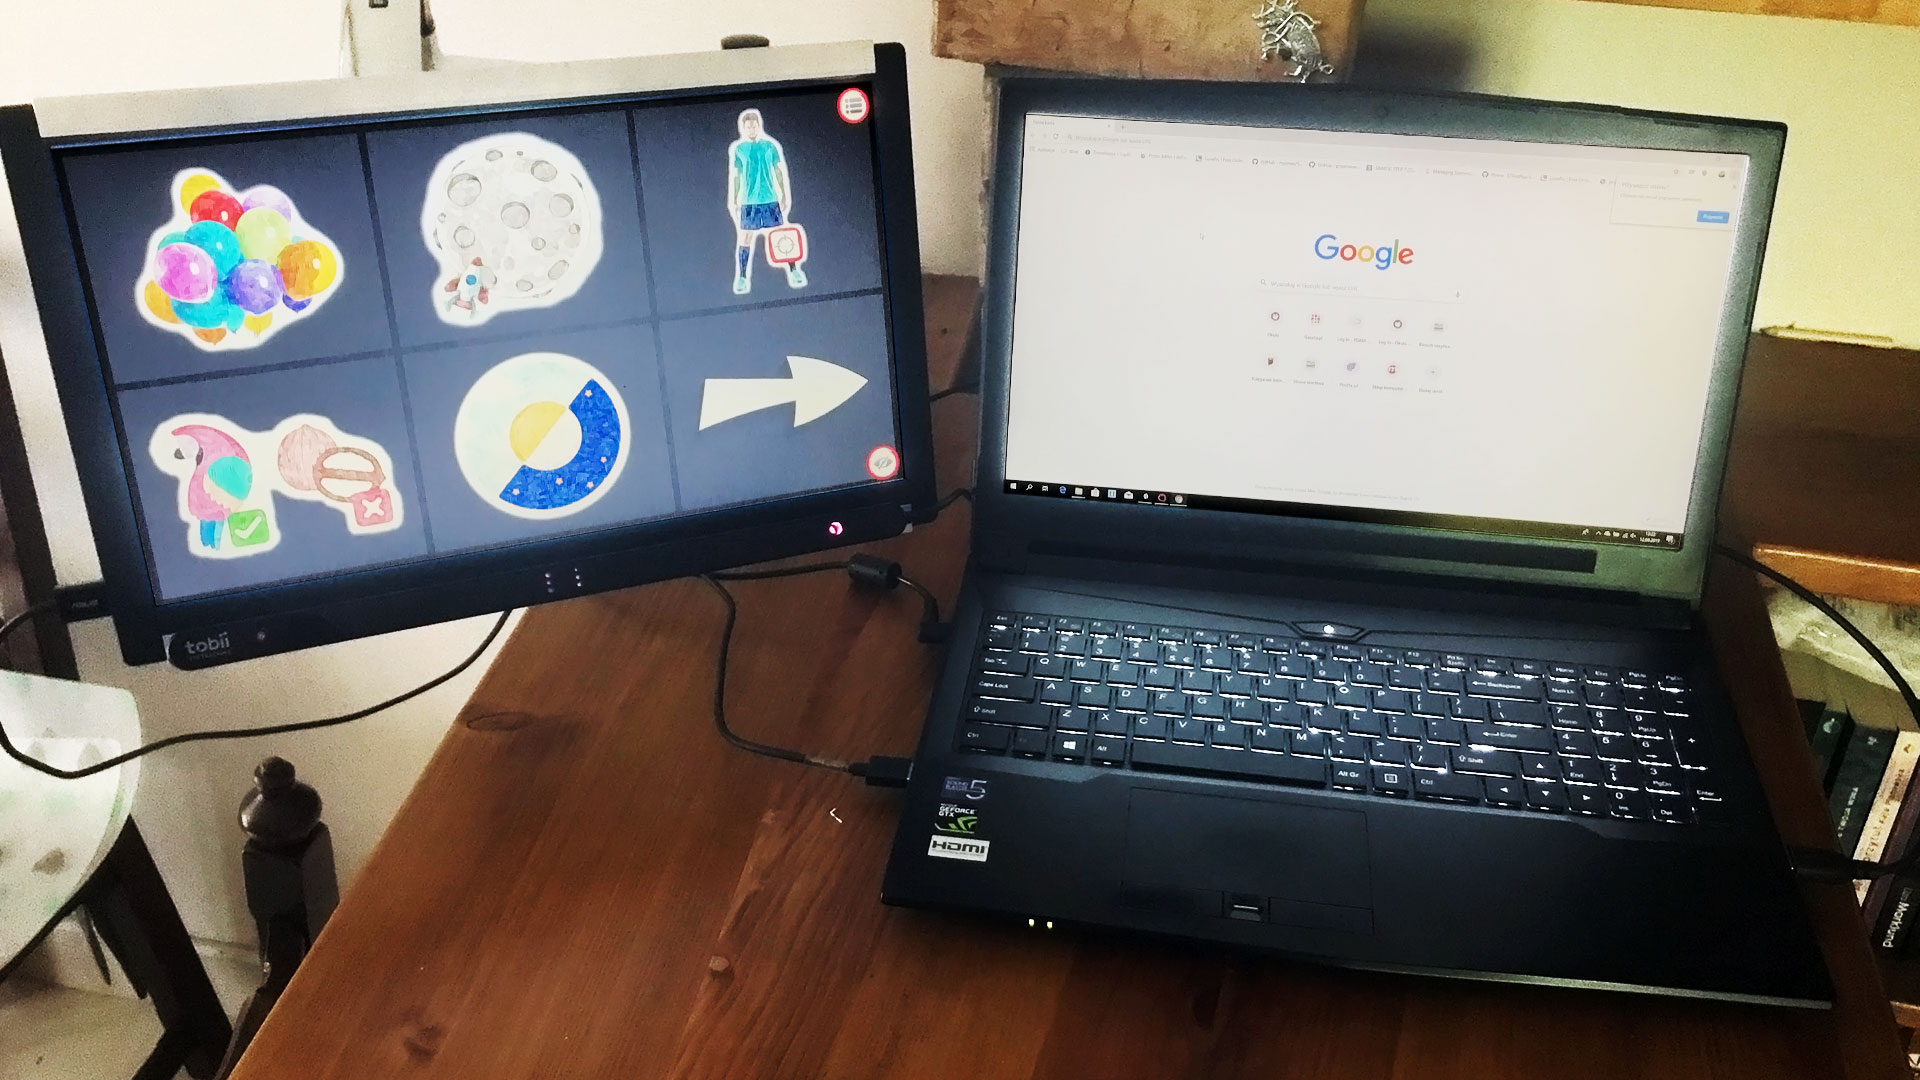
Configuring Multiple Monitors
Okulo operates in various hardware configurations, giving a wide range of possibilities and new experiences.
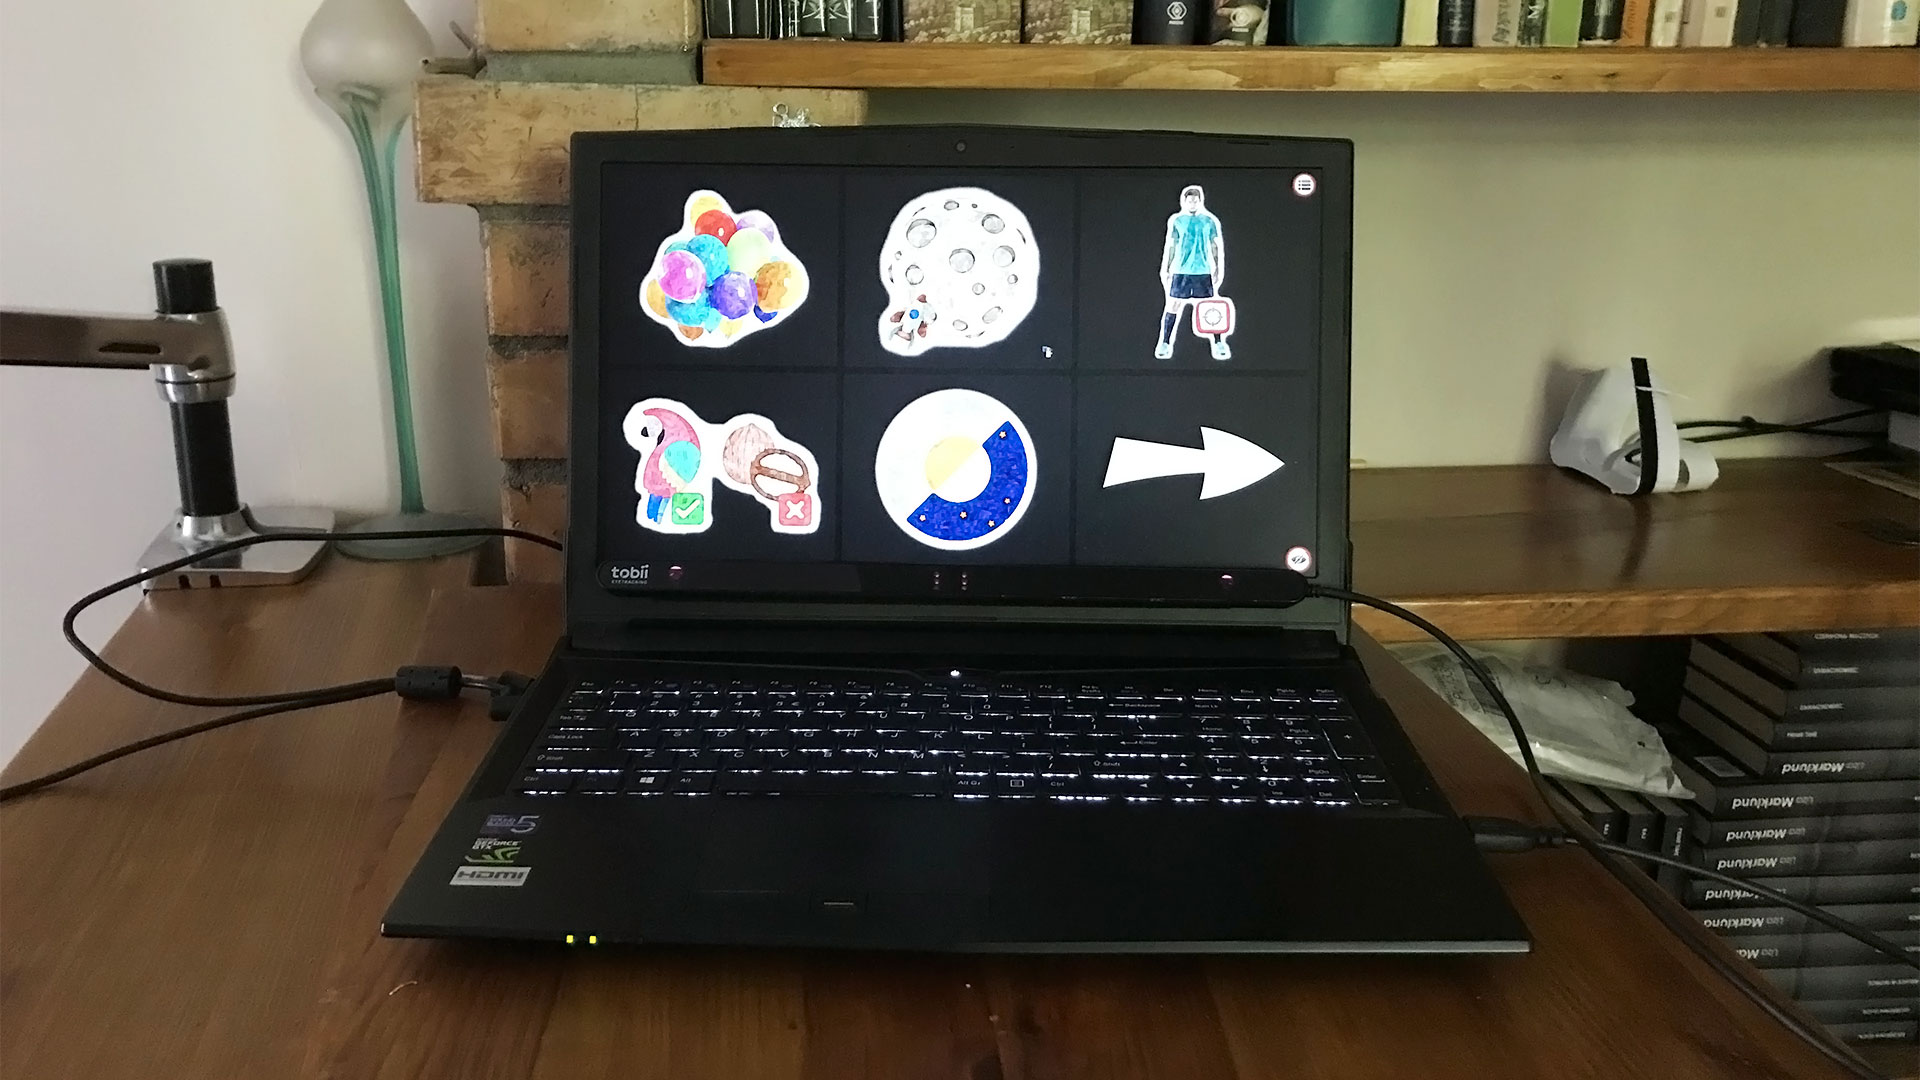
1. Computer / laptop with one monitor or display
2. Computer / laptop with an additional screen attached (extended desktop)
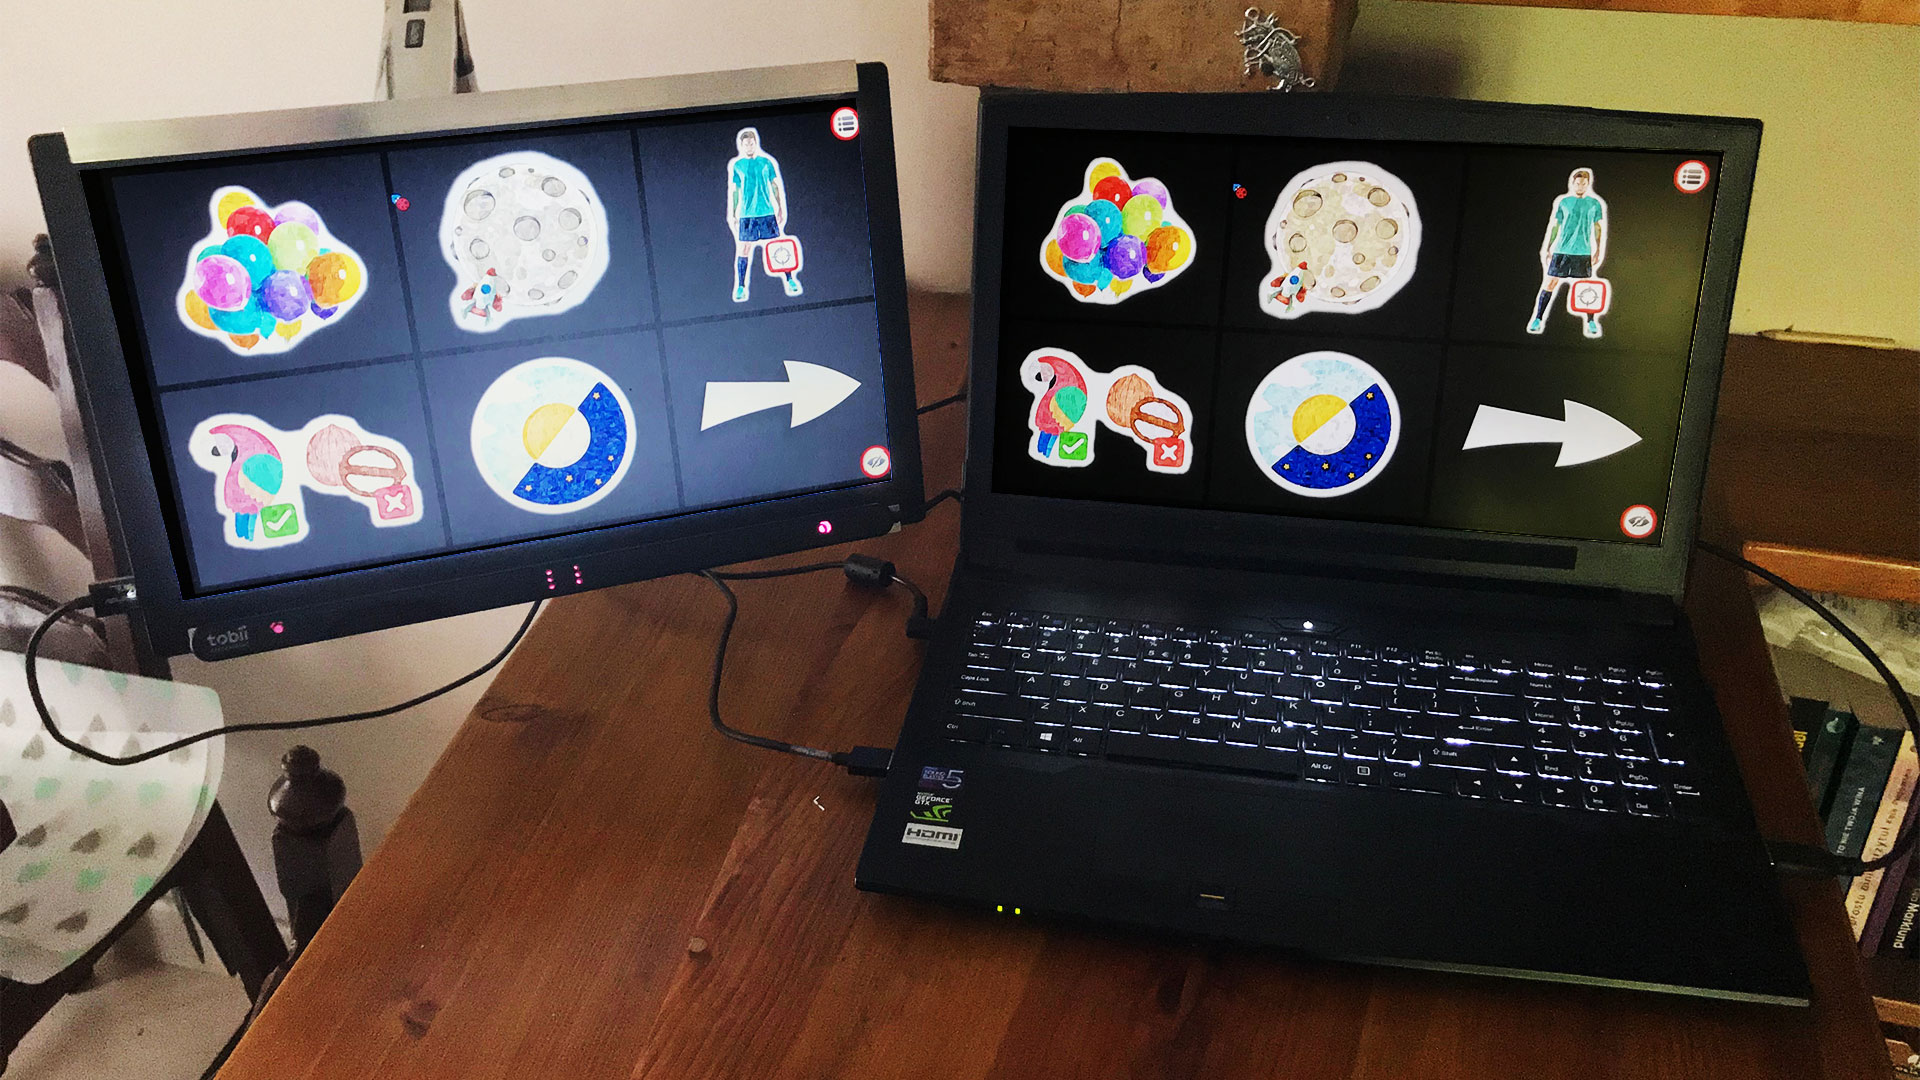
3. Computer / laptop with an additional screen attached (duplicated desktop)
An additional monitor with a duplicated desktop is recommended as a configuration that gives the greatest degree of control over the application and equipment, as well as providing the opportunity to play together and help the child in case of any problems.
1. Connect an additional monitor.
ATTENTION! When choosing an additional monitor, make sure that it’s set to the same resolution as the main screen of your computer. It will make further operation smoother and easier.
2. Open the multi-monitor settings option in Windows.
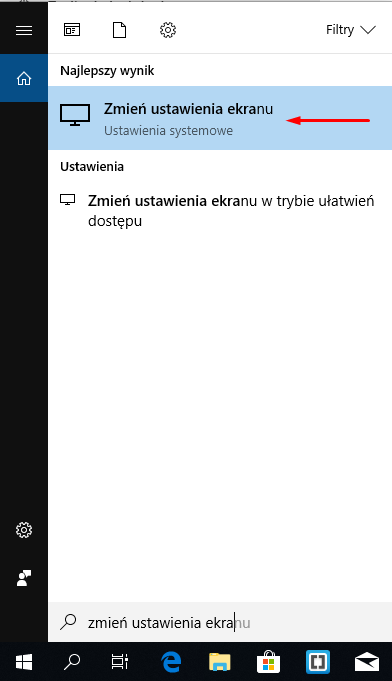
3. Depending on the chosen configuration, select EXTENDED DESKTOP or DUPLICATE SCREEN from the drop-down list.
Configuring OKULO
The Okulo app lets several people to play on the same computer. The settings and history of messages are assigned to the user name.
1. Create a new user by clicking “+” in the drop-down list
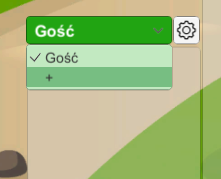
2. Enter the name or other user ID and accept with the “+” button

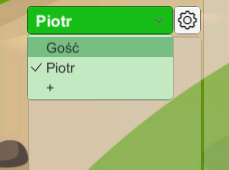
3. You can change an active user at any time by selecting it from the drop-down list
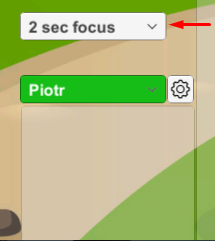
4. You can change the eye focus time needed to click the button at any time by selecting the appropriate value from the “time focus” list
Enabling and disabling child’s eye tracking
It is crucial for the caregiver to skillfully help the disabled person to use the application during work, learning or play. In Okulo, the daregiver can use the mouse cursor to do exactly the same things as the child.
You will quickly learn that it is indispensable to turn off the eye tracking for a short time needed to change the program’s settings.
1. The eye tracking switch is located in the lower right corner.
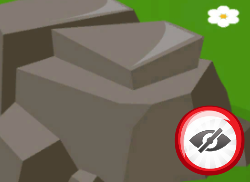
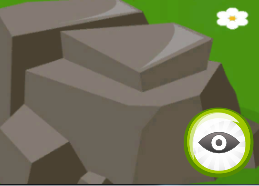
2. Click and hold the button to activate or deactivate the eyetracker.
ATTENTION! Always inform your child about what you are doing!
Enabling and disabling the crosshair
During the games and learning it is useful to turn on the crosshair, which shows where the eyes are focused on the screen. Thanks to the crosshair, we can see what the child is looking at and the child can use interactive elements with greater accuracy.

In many cases, the crosshair allows you to learn and play even when you need to turn off clicking with your eyes functionality.
1. The menu button is located in the upper right corner, click it and hold it.

2. In the opened options panel, find the crosshair icon, click and hold it to turn it on and off.
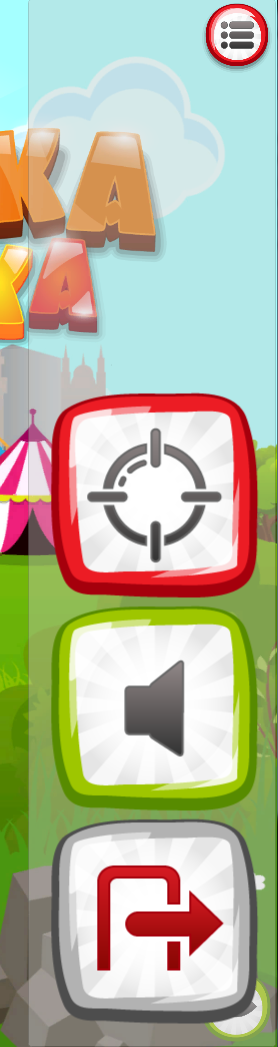

ATTENTION! Always inform your child about what you are doing!